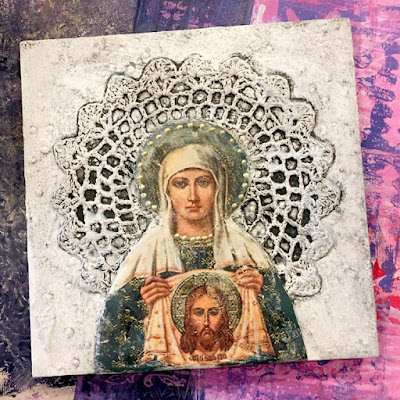
Image Transfer on Creative Paperclay®
I love image transfers and have even written a book, Image Transfer Workshop, for Northlight so thought I would do a piece doing a transfer directly on the Creative Paperclay®. It turned out better than I expected.
SUPPLIES
Creative Paperclay®
Toner image
Chartpak Admarker Colorless Blender
Micaceous Iron Oxide paint
I started by gluing a doily on my panel and applying gesso when the glue had dried. Next, I applied a shape of paper clay to the surface that fit my toner image. I rolled the clay and cut the shape on some waxy paper then laid it on the surface and removing the wax paper.
Next, I laid the toner image facing down on the dry paper clay and applied the blender pen to the back in small areas. I burnished the image then reapplied a second time before moving on to a larger area.
You can do a perfect transfer with a little patience. I prefer a slightly grunge look that I paint back into.
I added a wash of the Micaceous Iron Oxide paint and let dry.
Next it was the small details.
Have fun with this cool product and Dream in Color.


Comments